Day 5 is here and time to talk about something more important than jewelry making, more important than jewelry design, more than tools or beauty or comfort….. let’s talk about SAFETY.
Safety should be THE #1 thought that is the foundation of every task, every job, every day. You can mess up a piece of jewelry, you can melt a ring or break a stone, this is replicable, but if you do not wear safety glasses EVERY TIME you sit at your jewelry bench, you are risking something irreplaceable. If you do not tie back your hair when you are working, you are risking injury with fire or machinery. Get into the habit of having a few pair of safety glasses at every work station you have. If they are easily accessible, you are more likely to put them on.
Fire is something else to be cautious of and if you have a torch in your workspace, make sure the floor is not a material that is flammable. Also make sure you have a fire extinguisher handy, within arm’s reach of your bench. When hooking up your torch to your tanks, it is a must that you check the fittings for leaks. It is also a good idea to check them on a regular basis. There are 3 ways to tell if you have a fuel or an oxygen leak. First, if you have a fuel leak, you will be able to smell gas. Oxygen has no smell, but gas always does.
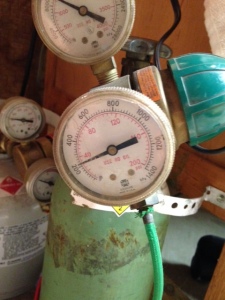
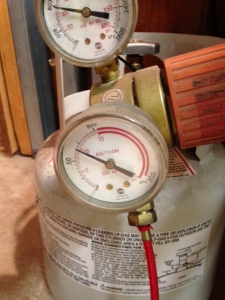
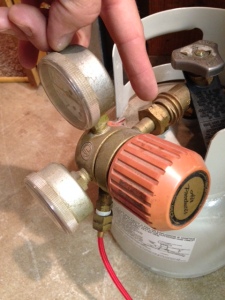
Second, check your gauges on your regulator. A regulator is a MUST to have between your torch and your tanks. If you turn off your tanks, the gauges should hold their pressure. I set my oxygen pressure at approx 30psi and my fuel (propane) at approx 10psi. Turn off the tank by turning the knob on the top of the tank all the way to the off or closed position then watch the gauge to make sure it does not slowly lose pressure. Also, when using the torch, turn the tanks all the way to the on or open position.
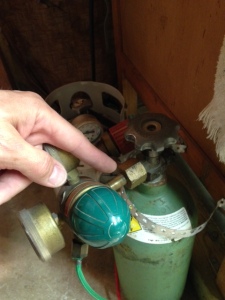
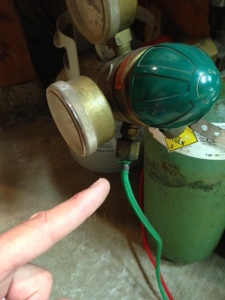
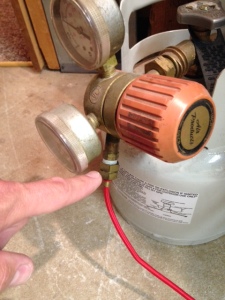
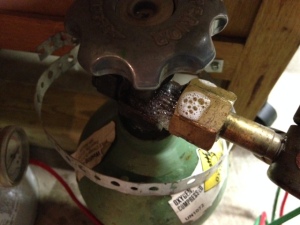
The third way to check for leaks is to get a soapy solution and spray the fittings and watch for bubbles. I use a mixture of Simple Green and water (8 parts water : 1 Part Simple Green), it is biodegradable, smells great, and is good for cleaning just about everything imaginable. Even if there is a slight leak, it will bubble slowly (or quickly). If you see this, you will need to tighten the fittings. If you have them really tight and there is still a leak, you will need to find new fittings. Check both fittings on the regulators of both tanks as well as the fittings for the gauges.
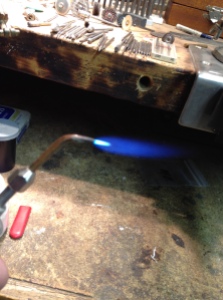
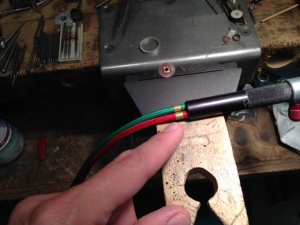
Also check the fittings on the torch. I use a Smith Mini Torch and have never had a problem, but it is good to check. Also dip the very tip of the torch in water and look for bubbles. If you see bubbles there, the valve on the torch is either not tight, not adjusted correctly, or just worn out.
Here is what to look for if you have a leaky fitting. (bubbles)
Thanks for stopping by and have a safe day!
Doug
Thanks for the lesson , I usually use mini-torches because I don’t feel I know enough on how to use the tanks safely.
I’m hoping a lesson on pickling will be in the near future. Thanks again.
Thanks Lorena, I will do that.
WOW, that’s fantastic, Doug. Thanks so much for such clear and concise instructions AND great photos. I totally know what to look for, and that I need some Simple Green. 😉
I use Simple Green for many things, even in my ultrasonic. Enjoy your day.
Thanks for the tip on the flame Doug…I appreciate your blogging and do not want to miss a post. G k ad I found you!
Pingback: Day 17 V-Bezel Pendant | JewelryMonk
Pingback: Day 31 Back to Soldering Basics | JewelryMonk