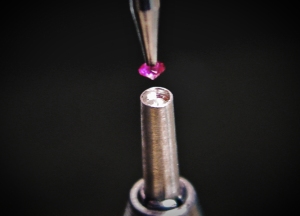
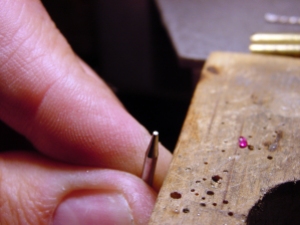
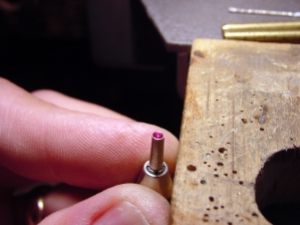
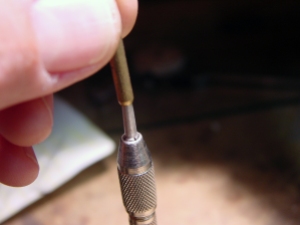
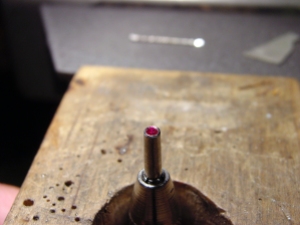
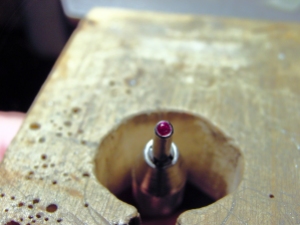
Today let’s look at a quick way to set small stones in a bezel. For this example I will use a 2mm stone in a tube setting. To start with, I will take a piece of round silver wire approx 2.6mm in diameter. I drill a small pilot hole in the center with a 0.8mm drill, then follow it with a 1.5mm drill bit. Now cut the seat with a 2mm setting bur, not too deep, but deep enough so that the whole girdle of the stone is lower than the top of the bezel. I am holding the silver with a Pin Vise.
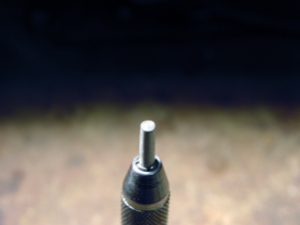
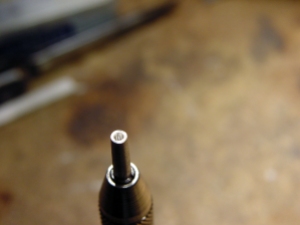
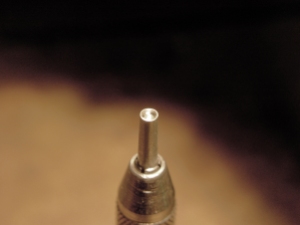
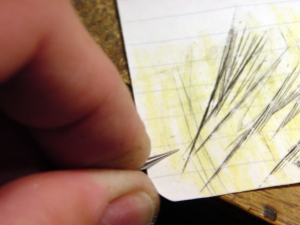
After the seat is cut, what I like to do is take a very small bur that is used up or broken, and take the sharp edges off and polish it with Yellow Rouge rubbed on a piece of paper. rub it on the paper until it is polished to a good shine and has no scratches. Rub this “burnishing tool” on the inside of the setting (the inside of the bezel walls and the inside edge) and take off any sharp edges and polish it.
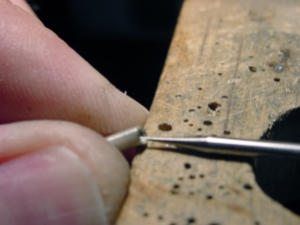
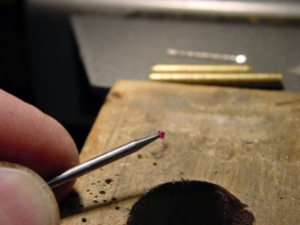
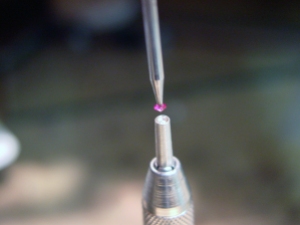
Take another broken bit and grind and sand the end to a flat end, this will be your “Stone-picker-upper”. This trick works very nice on small stones, up to 3mm or so. What you will do is take this flat ended bur, MAKE SURE IT IS CLEAN, and touch it to your tongue…… YES, you read that right. Touch the flat end of the bur to your tongue and then take it and touch the table of the stone, the little bit of moisture on the bur acts like a suction, or magnet and will pick up the stone and allow you to place it into the setting. If you are uncomfortable with this, you can always use a piece of soft sticky wax to pick up and place the stone. I have been a stone setter for years, and the tongue is just natural to me, but I always rub the bur off before I touch it to my tongue.
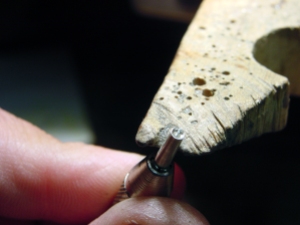
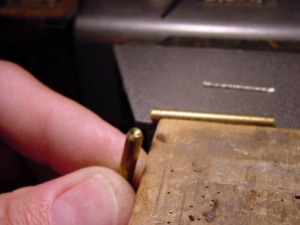
Now I will introduce you to another hand-made tool. If you have and brass rods around, somewhere around 3-4mm round, and cut a small piece off, about 1 to 1.5 inches long. Take a large ball bur and grind and polish a concave divot into the brass. Make it larger that the bezel setting, place it on top of the setting and gently tap with a small Chasing Hammer, checking it frequently until it is tight, make sure you are not putting too much pressure on the stone.
Now, finish with a light buffing. Enjoy!
Doug
I have to say, I’m addicted to your posts and this one is yet another installment of a “duh” moment for me! Such simple, easy tips to make my life and process so much easier! Thank you so much for sharing your process and helpful hints & tips!
Thanks for the kind words.
Mr Monk! Thank You! I am also addicted and have sent your blog on to other junkies.
Thank you so much Michelle! I really do appreciate that!
Could you clarify please…
“Today let’s look at a quick way to set small stones in a bezel. For this example I will use a 2mm stone in a tube setting. To start with, I will take a piece of round silver wire approx 2.6mm in diameter. I drill a small pilot hole in the center with a 0.8mm drill, then follow it with a 1.5mm drill bit.”
“piece of round silver wire” does that mean the tube size?
“drill a small pilot hole” in the center of the bottom? And for what purpose — to release the stone if you need to get it out again?
Thanks. Yes, the tube size or outside diameter. Also the hole is for 3 reasons, 1 so the pavilion or bottom point of the stone is not in contact with metal, that could break the stone. 2. to get the stone out if needed before setting. 3. For light, so the stone is more brilliant.
most important reason for a hole all way thru is for cleaning purposes.= no hole, gunk gets stuck under stone. with a hole; a buzz in ultrasonic cleaner and a blast of steam from steam cleaner and its clean again.
Thanks April! Yes!
(Just as long as the stone can withstand the ultrasonic and/or steam!) 🙂
Pingback: Day 23 Contrasting Jewelry Textures (part 2) | JewelryMonk
Thank you Doug. Really simple process with great effect.
Question, Do you saw the setting off the tube and solder it in place with the stone set in it or do you cut the setting from tube and then solder to whatever and subsequently finish setting the stone?
Fletcher
Thanks for the question Fletcher. It all depends on the type of stone I am using. If the stone can take heat (diamonds, rubies, sapphires) I can set the stone first, but if it is any other type of stone, I will cut and solder first. But usually I will do my trimming and soldering first none the less.
Thanks for stopping by.
Doug
Comments are closed.