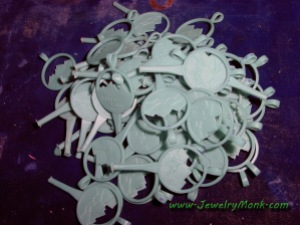
Since I am in the midst of a casting project, I thought I might as well use the opportunity as a tip/blog entry. Yesterday I injected some waxes and now I have a pile of waxes that need to be cleaned before casting. Today I will go through the cleaning process in preparation for casting.
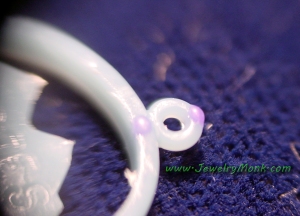
Now I have my waxes, but I have to inspect them for defects, pits, and flashing before I put them on a “tree” for casting. Even though the model was cleaned up good before molding, there are still mold lines, pits, and extra “flashing” (wax that gets in the airlines and between the 2 halves) that need to be cleaned before getting turned into metal. it is usually easier to clean in wax than metal.
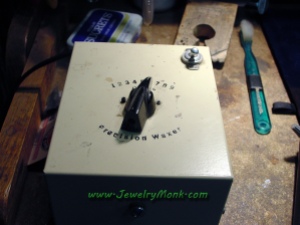
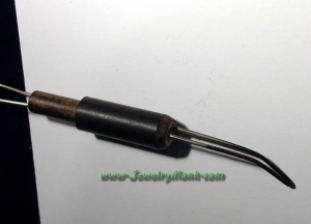
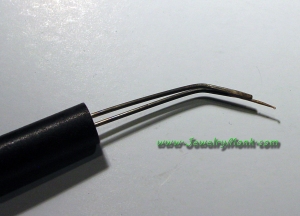
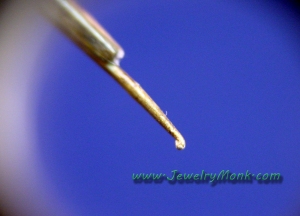
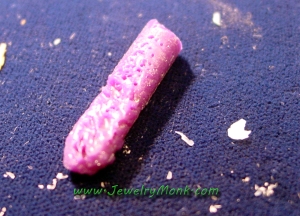
I use my Wax Pen and I have modified a wax pen tip for this process. I took a regular tip and soldered (silver solder) a silver wire to the tip. I tapered the wire and added a little “curl” to the end so it grabs the wax better. I use Perfect Purple Wax
to fill pits and defects. It is a low temp wax that is easy to work with and clean.
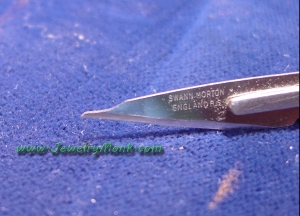
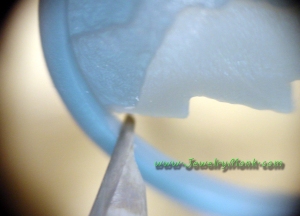
After I have filled all the pits and defects, I use a #11 Straight Surgical Blade that I have altered. I sharpened the tip with a Separating Disc
to make it thinner and easier to get into tight areas. I use this to trim away flashing and mold lines. Also to trim off the extra purple wax I added to pits. If there is a lot of cleanup to do to a wax, it is easier to toss it away and inject a new one.
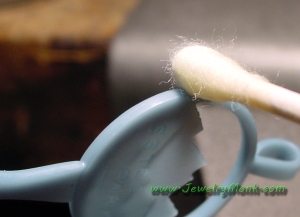
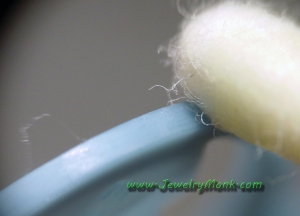
Lastly, I rub the waxes down with a Q-tip lightly soaked with Lighter Fluid. This will give the wax a smooth finish and take out any scratches you have. Be careful not to use this Q-tip too much because it will take away detail the more you use it.
There ya go, Clean waxes, ready to cast.
Have a great day and don’t spend too much time at the bench….. it’s Summertime!!
Doug

