Pendant Project Part 2

Ok, ok, After the V-Bezel illustration from a few days ago, I had quite a few comments about how I would use the bezels and a good application for V-Bezels. Well, you ask, you get.
Over the next few days I will make a pendant and set a stone using the now “semi-famous” V-Bezel. I found a stone that I have had in my drawer for a while looking for a use for it, well now I have found a purpose for it, so let’s get going.
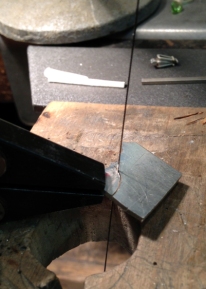
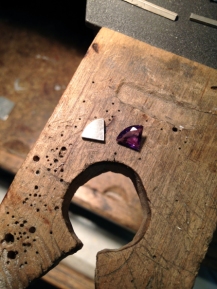
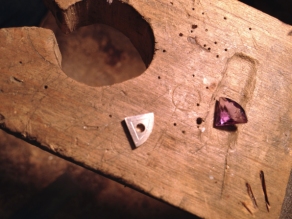
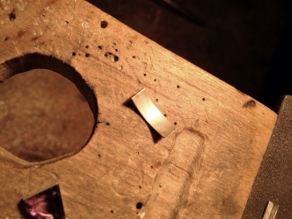
First, I find a piece of flat silver for the pendant base. In this instance, I use a piece that is 1.25mm thick. I place the stone I am using top down on the silver, (I slightly dull the surface of the silver with a piece of used 1200 grit sandpaper so it will show the tracing better) and hold it in place with a small piece of sticky wax, something that will hold it firm. Once the stone is held down, I use a scribe to trace a light line around the stone. I pull the stone off of the silver and use my Saw Frame with a Saw Blade
to cut along the outside of the line. I hold the silver with a pair of Smooth Jawed Parallel Pliers
. I file the outside up to the scribed line.
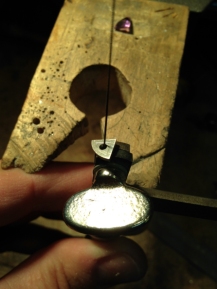
Once I have the base cut out, I scribe an offset line inside, approx. 1.5 mm thick, then I drill a hole in the center of the base and load it on my Saw Frame. I cut along the inside up to the line, as close as possible. I use a Barrette Needle File and a Half-Round Escapement File
to clean the inside and make it smooth and crisp.
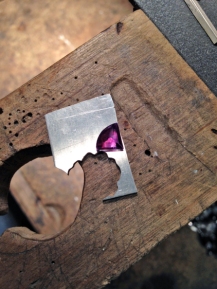
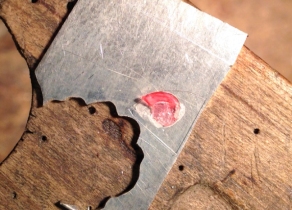
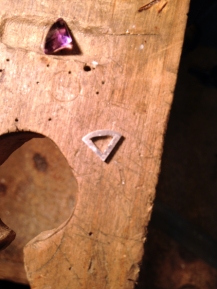
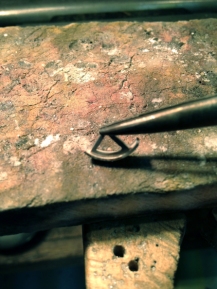
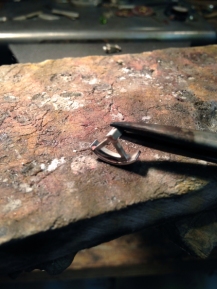
Now I have the base cleaned up, I roll a piece of silver approx. 4mm wide and 0.8mm thick with my Rolling Mill to use as a bezel for the back of the stone. After I roll it to the desired thickness, I anneal it and form it to match the shape of the back of the setting. (If you are unfamiliar with the annealing process, see THIS BLOG ENTRY) I now solder the bezel to the back of the base that I made. You can see I place the solder in between the bezel and the frame on my Soldering Block
. I solder using my Smith Mini Torch
with a fairly small flame from the #5 torch tip. (I have drilled out my tip, so it is a little larger than a #5, but a #5 is a good tip) I am using Oxygen (approx. 30 psi) and Propane (approx. 10 psi) as gas for my torch. (to see how I set up my torch and to safely check for leaks, See THIS Blog Post)
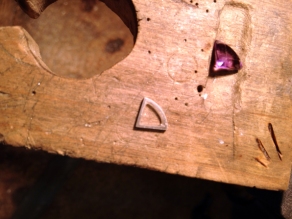
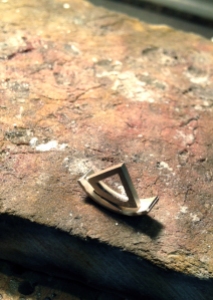
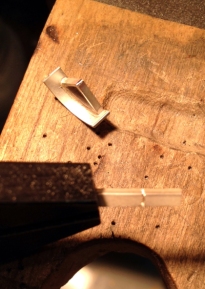
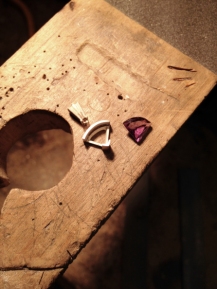
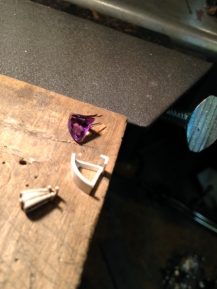
Next, I take the V-Bezel that I made last time, and saw off about 4.5mm of it to use as a bezel setting for the point of the stone. I solder it to the point of the setting base while holding it with my Soldering Spring Tweezers with heat protective handles.
Can you see it starting to take shape yet? A little more massaging and it will come alive….. I found a bail that I have been itchin’ to use as well, seems like the perfect project for it.
Stay Tuned and I will finish cleaning it up and set the stone in the next days.
By the way, make sure you subscribe if you haven’t, so you don’t miss ANY JewelryMonk Goodness.
Now go make Something Surprising!
Doug
