If you are making jewelry long enough, eventually you are going to come across a project with a stone with a sharp corner, either a marquise, pear, or square shaped stone. Today I will demonstrate how I go about making a v-bezel for setting stones.
First, I find either a scrap piece of sheet silver or cut a piece off of some stock. I roll it down in my Rolling Mill to about 0.5mm and then anneal it. If you are unfamiliar with annealing, see Day 9 of this blog.
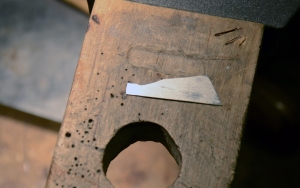
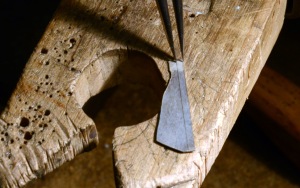
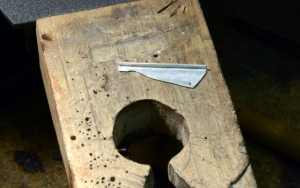
I then file a flat edge on one side of the silver and scribe a line approx 2.5mm away from the edge. (longer or shorter if you want longer or shorter bezels.) Once you have a line scribed, use a Square Graver or a Flat Graver
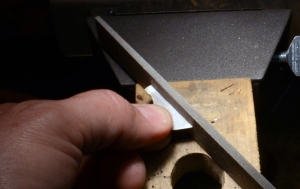
at a 45 degree angle to cut a grove into the silver about 2/3 the way through the sheet. After the groove is cut, I run a Square Escapement File
along the groove to make it uniform and straight.
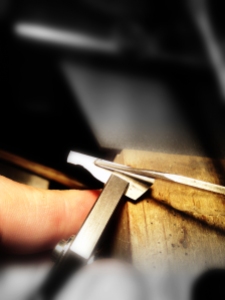
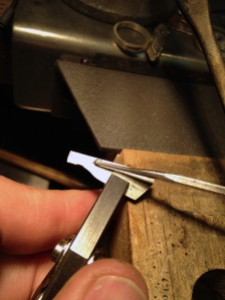
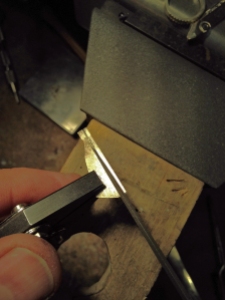
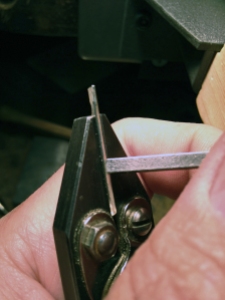
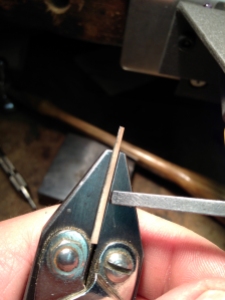
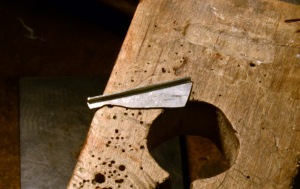
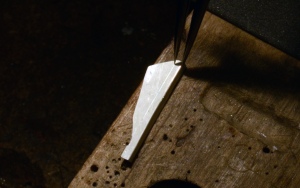
Hold the silver sheet with a pair of Smooth Jaw Parallel Pliers with the grove even with the edge of the pliers and use a Square Prong Pusher
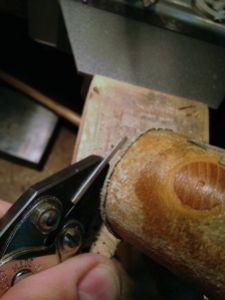
to fold the sheet to a 45 degree (or square) angle. I also tap the silver with my Rawhide Mallet
or a Plastic Head Jewelers Hammer
to make sure it is seated against the other side.
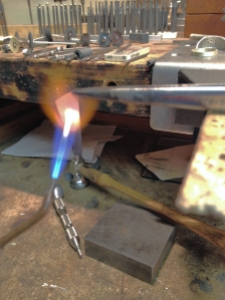
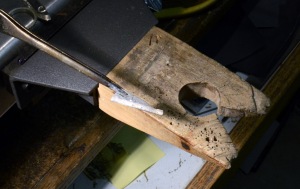
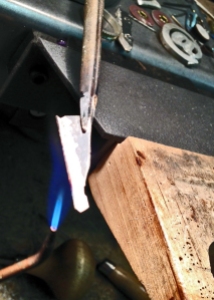
Next I fluxed the solder joint with Handy Flux and add 3 pieces of small solder, spaced evenly, to the inside of the bezel. Do not use too much solder, you can always add more, but it is a pain if there is too much. I solder from the back side of the bezel with my Smith Mini Torch
, to make sure the solder penetrates the solder joint.
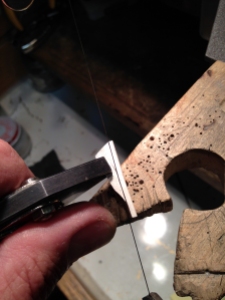
Now measure the finished side and scribe a line along the other side the same width, and cut with your Jeweler Saw Frame. (I use a 3/0 Saw Blade
) Again, you can trim the sides either longer or shorter, and use thicker or thinner silver, depending on the application you are using.
Now trim off the amount you want and solder to your stone seat or pad. Set stones and enjoy!
Have a wonderful day!
Doug
Could you please add a photo of a finished example of how you use the V bezel?
Laura, stay tuned, I will make a stone setting and set a stone in the coming days. #teaser #edgeofyourseat
Thanks Doug. I too would like to see the finished product.
I have been thoroughly enjoying this series.
Thank you for sharing your knowledge with us. There is so much to learn!!
As a newbie, I am a bit confused how this is used for a “square corner” I guess I thought it was for “pointed corners” where the bezel sometimes has too much of a flap as you are setting it & rolling it over the stone?
So when you show the bend this way, I cant wrap my head around it where the points come in?
Sorry if I’m being completely blind to the obvious. A finished piece would definitely help. Thanks you for doing these! I enjoy them
Check out today’s (Day 17) Blog, it might clear things up a bit.