Ok, ok, After yesterdays V-Bezel illustration, I had quite a few questions and comments about how I would use the bezels and a good application for V-Bezels. Well, you ask, you get.
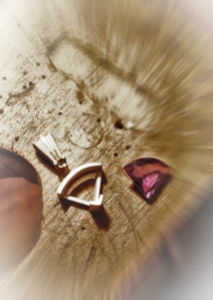
Over the next 2-3 days I will make a pendant and set a stone using the now “semi-famous” V-Bezel. I found a stone that I have had in my drawer for a while looking for a use for it, well now I have found a purpose for it, so let’s get going.
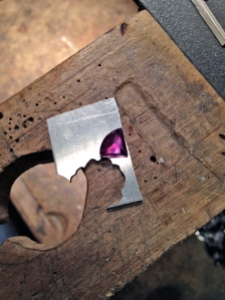
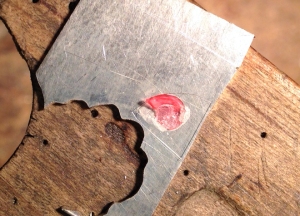
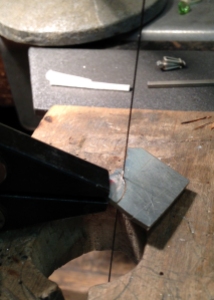
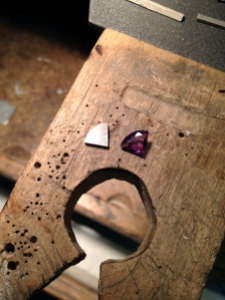
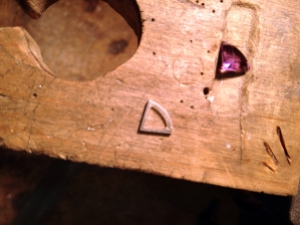
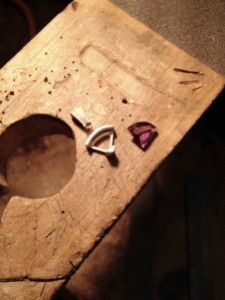
First, I find a piece of flat silver for the pendant base. In this instance, I use a piece that is 1.25mm thick. I place the stone I am using top down on the silver, (I slightly dull the surface of the silver with a piece of used 1200 grit sandpaper so it will show the tracing better) and hold it in place with a small piece of sticky wax, something that will hold it firm. Once the stone is held down, I use a scribe to trace a light line around the stone. I pull the stone off of the silver and use my Saw Frame with a Saw Blade
to cut along the outside of the line. I hold the silver with a pair of Smooth Jawed Parallel Pliers
. I file the outside up to the scribed line.
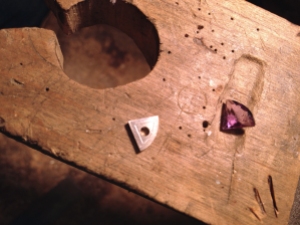
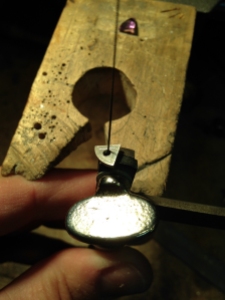
Once I have the base cut out, I scribe a line inside approx 1.5 mm thick, I drill a hole in the center of the base and load it on my Saw Frame. I cut along the inside up to the line, as close as possible. I use a Barrette Needle File and a Half-Round Escapement File
to clean the inside and make it smooth and crisp.
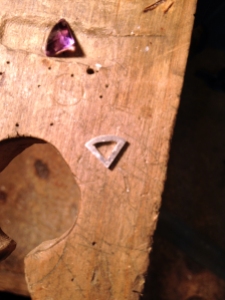
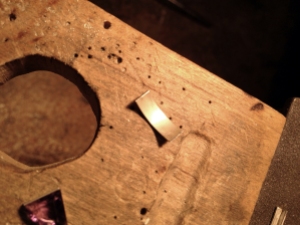
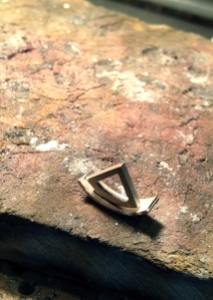
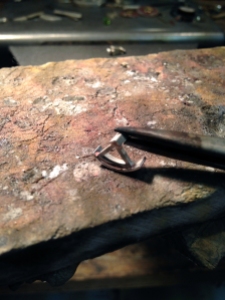
Now I have the base cleaned up, I roll a piece of silver approx 4mm wide and 0.8mm thick with my Rolling Mill to use as a bezel for the back of the stone. After I roll it to the desired thickness, I anneal it and form it to match the shape of the back of the setting. (If you are unfamiliar with the annealing process, see Day 9’s blog entry) I now solder the bezel to the back of the base that I made. You can see I place the solder in between the bezel and the frame on my Soldering Block
. I solder using my Smith Mini Torch
with a fairly small flame from the #5 torch tip. (I have drilled out my tip, so it is a little larger than a #5, but a #5 is a good tip) I am using Oxygen (approx 30 psi) and Propane (approx 10 psi) as gas for my torch. (to see how I set up my torch and to safely check for leaks, See Blog Post Day 5)
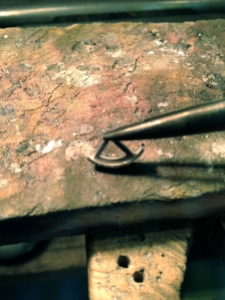
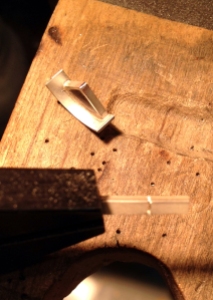
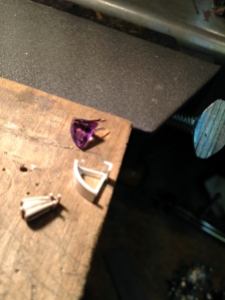
Next, I take the V-Bezel that I made in Day 16’s Blog entry and saw off about 4.5mm of it to use as a bezel setting for the point of the stone. I solder it to the point of the setting base while holding it with my Soldering Spring Tweezers with heat protective handles.
Can you see it starting to take shape yet? A little more massaging and it will come alive….. I found a bail that I have been itchin’ to use as well, seems like the perfect project for it.
Stay Tuned and I will finish cleaning it up and set the stone in the next days.
Now go make Something Beautiful!
Doug
This is great, thank you! I must try this soon.
I have been surfing online more than three hours as oof late, but I never found any
fascinating article like yours. It’s beautiful value sufficient for me.
In my opinion, if all wwebsite owners and bloggers made ecellent content as you did, the nnet will probably
be much more helpful tan ever before.
Thank you so much.
From what I see, if all web owners and bloggers made
great writing as you did, the internet would be much more
useful than previously.
Hi Doug,
What would be the best method to make a bezel setting for a faceted stone?
I’m thinking of cutting a bezel strip from sheet, forming into a pear shape, and then cutting another bezel strip to make a seat to fit inside. Is there another way that might work better?
Thanks
Cheryl
Cheryl,
The way you described is probably the most common way of going about it. Another way would be make a wire the same shape as the stone and solder it into place, down far enough to make a seat for the stone. It doesn’t have to go all the way to the base of the setting. Even 3-4 beads or balls soldered into the inside of the bezel wall would work. Drill a little “divot” to hold the bead before soldering. All you are looking for is just a little support to hold the stone in place.
You could also start with a thicker bezel and trim away enough of the bezel so the stone would drop into place and use the existing bezel to set the stone.
Hope this helps.
Doug
Comments are closed.