Day 22…. I know, I know, I am a little late posting this one, but I got it under the wire, still on schedule with this crazy 90 in a row kick-off to the JewelryMonk Blog. I took a road trip this weekend and didn’t have any lessons in the bag, so I had to “whip one up” when I got home, so let’s get on with it.
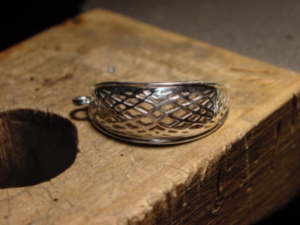
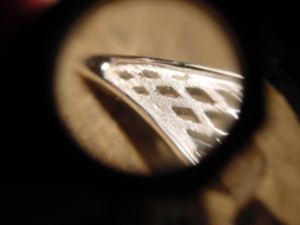
One of the things I really enjoy about finishing jewelry is trying different contrasting textures. Sometimes just polishing doesn’t “do it” for me.
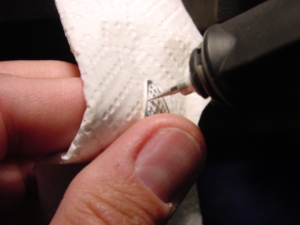
Today and tomorrow I will cover a very quick and very easy way of getting a good texture. The first thing you will need is an Electric Vibratory Engraver. Luckily these are pretty inexpensive and readily available. These come with a carbide steel engraving point, but truthfully, this is the first thing I replace. I have mentioned before that I reuse and retool many of my burs, and this is exactly what I do here. Even though the carbine bit that comes with the engraver is a lot harder, it is a little big to my liking. I make mine sharper and thinner to get into tight spots without marking the walls of the pieces. I just use a small used up ball bur and sharpen it with a Snap-on Disc
. The tip can be sharpened, rounded, polished, flattened, etc. to give you different looks, you will have to experiment with this.
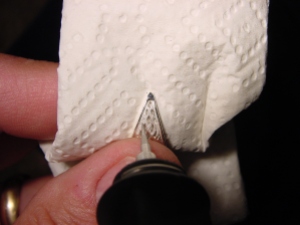
Now just turn it on and rub over the area that you want textured. I try to keep the back and forth motion going in the same direction to make the look of the texture uniform. Be careful though since the movement of the engraver is an up and down motion, (like a small jackhammer) and if you touch an area that you do not want textured, it will leave small little divots or pits.
Great look if you like contrasting textures and super easy and quick.
Give it a try. Tomorrow I will demonstrate another tip that is amazing in this tool.
Cheers!
Doug


